
Wool Pencil Case TUTORIAL
I originally did this tutorial for Olfa as it uses some of their awesome specialty blades. However, it is no longer on their site and I've received a few messages about it. So here it is again! And for those of you that did not see it the first time, please enjoy!

Supplies:
Two 4x11” pieces of thick wool/wool felt
One 9” zipper
40 wt thread
Print one copy of Pencil Case Template

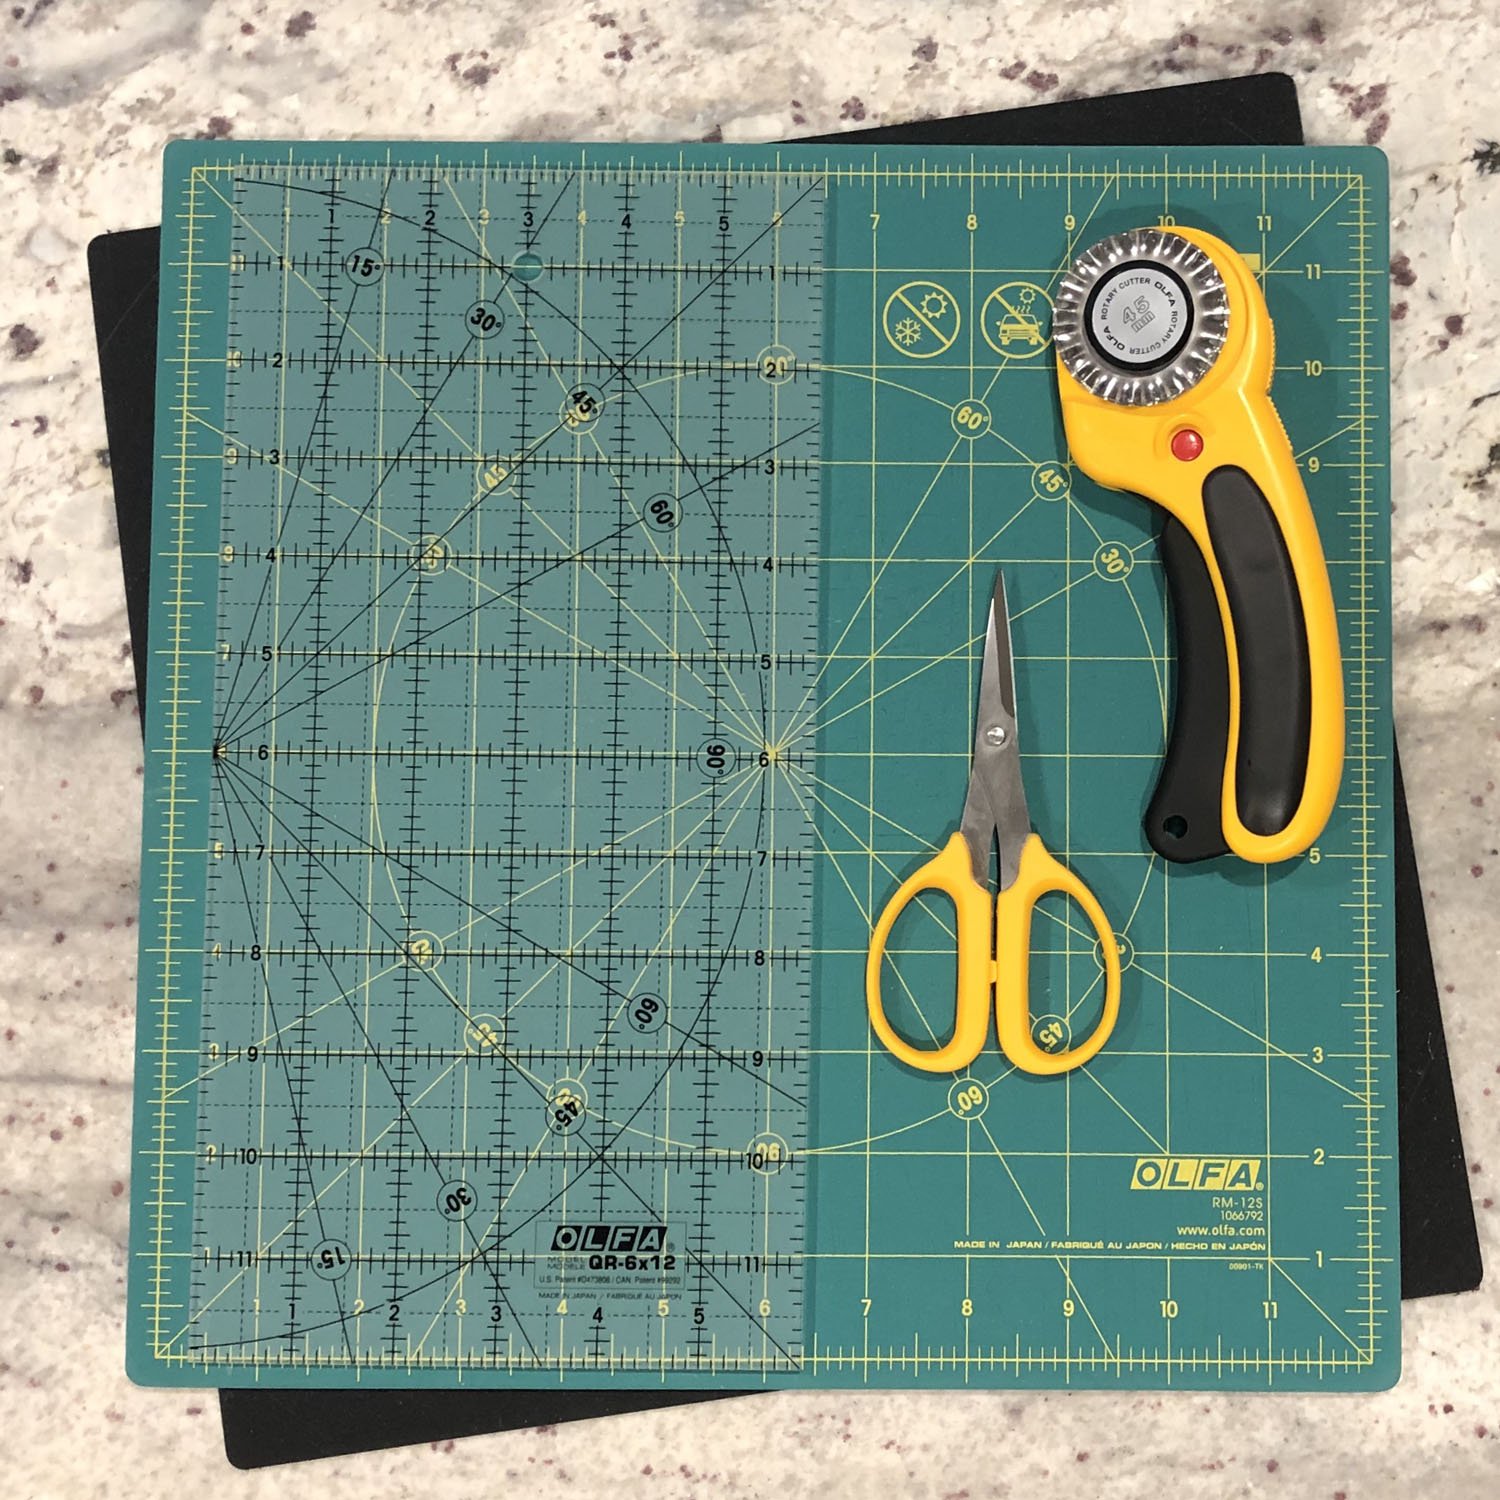
Olfa Supplies:
Rotating Mat
6x12” Frosted Ruler
Scissors
Rotary with straight blade and decorative blade
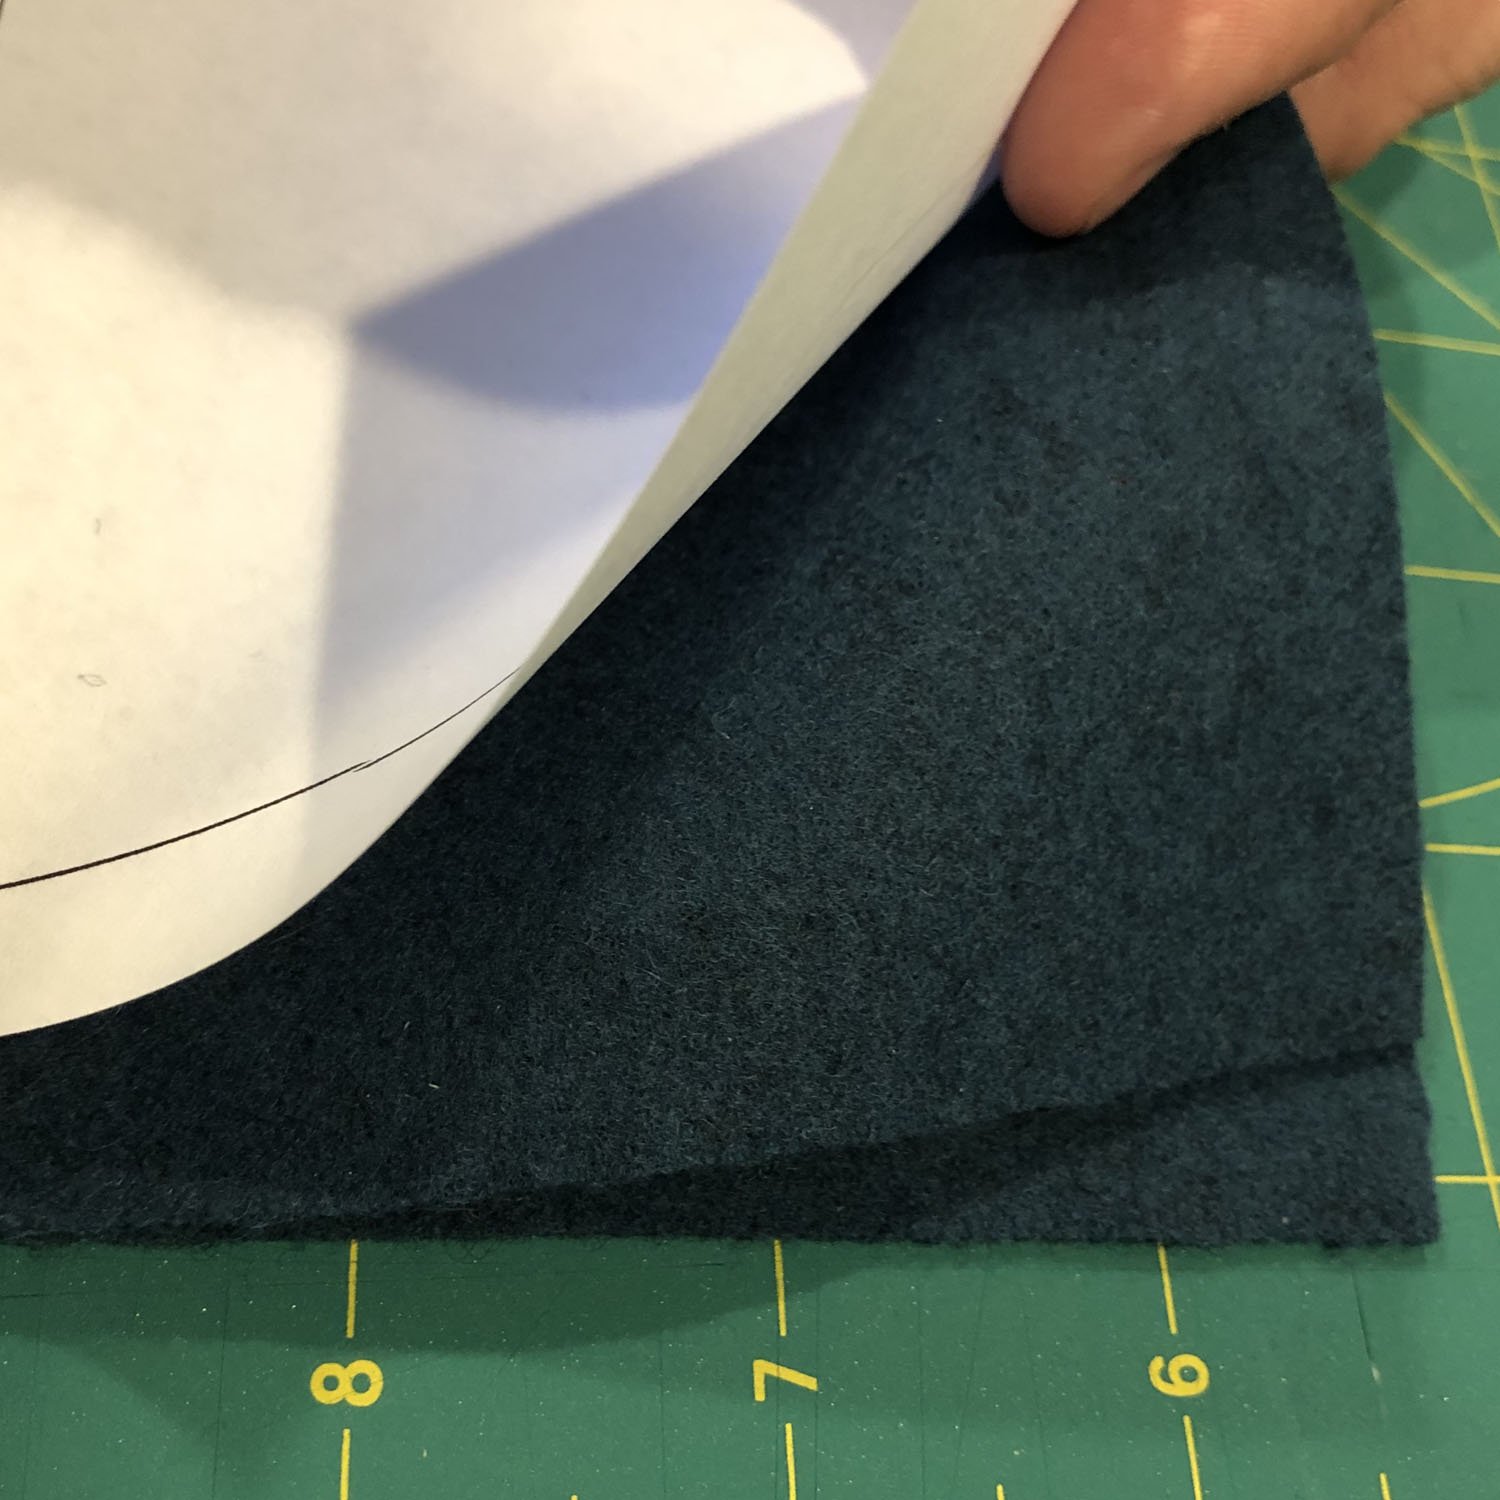
Step 1: Place two pieces of wool together with the template on top. You will cut through all pieces at once so that the pieces are identical.
Step 2: Align the ruler along the straight cut and cut. It’s best to use an older blade since paper can dull your blade.
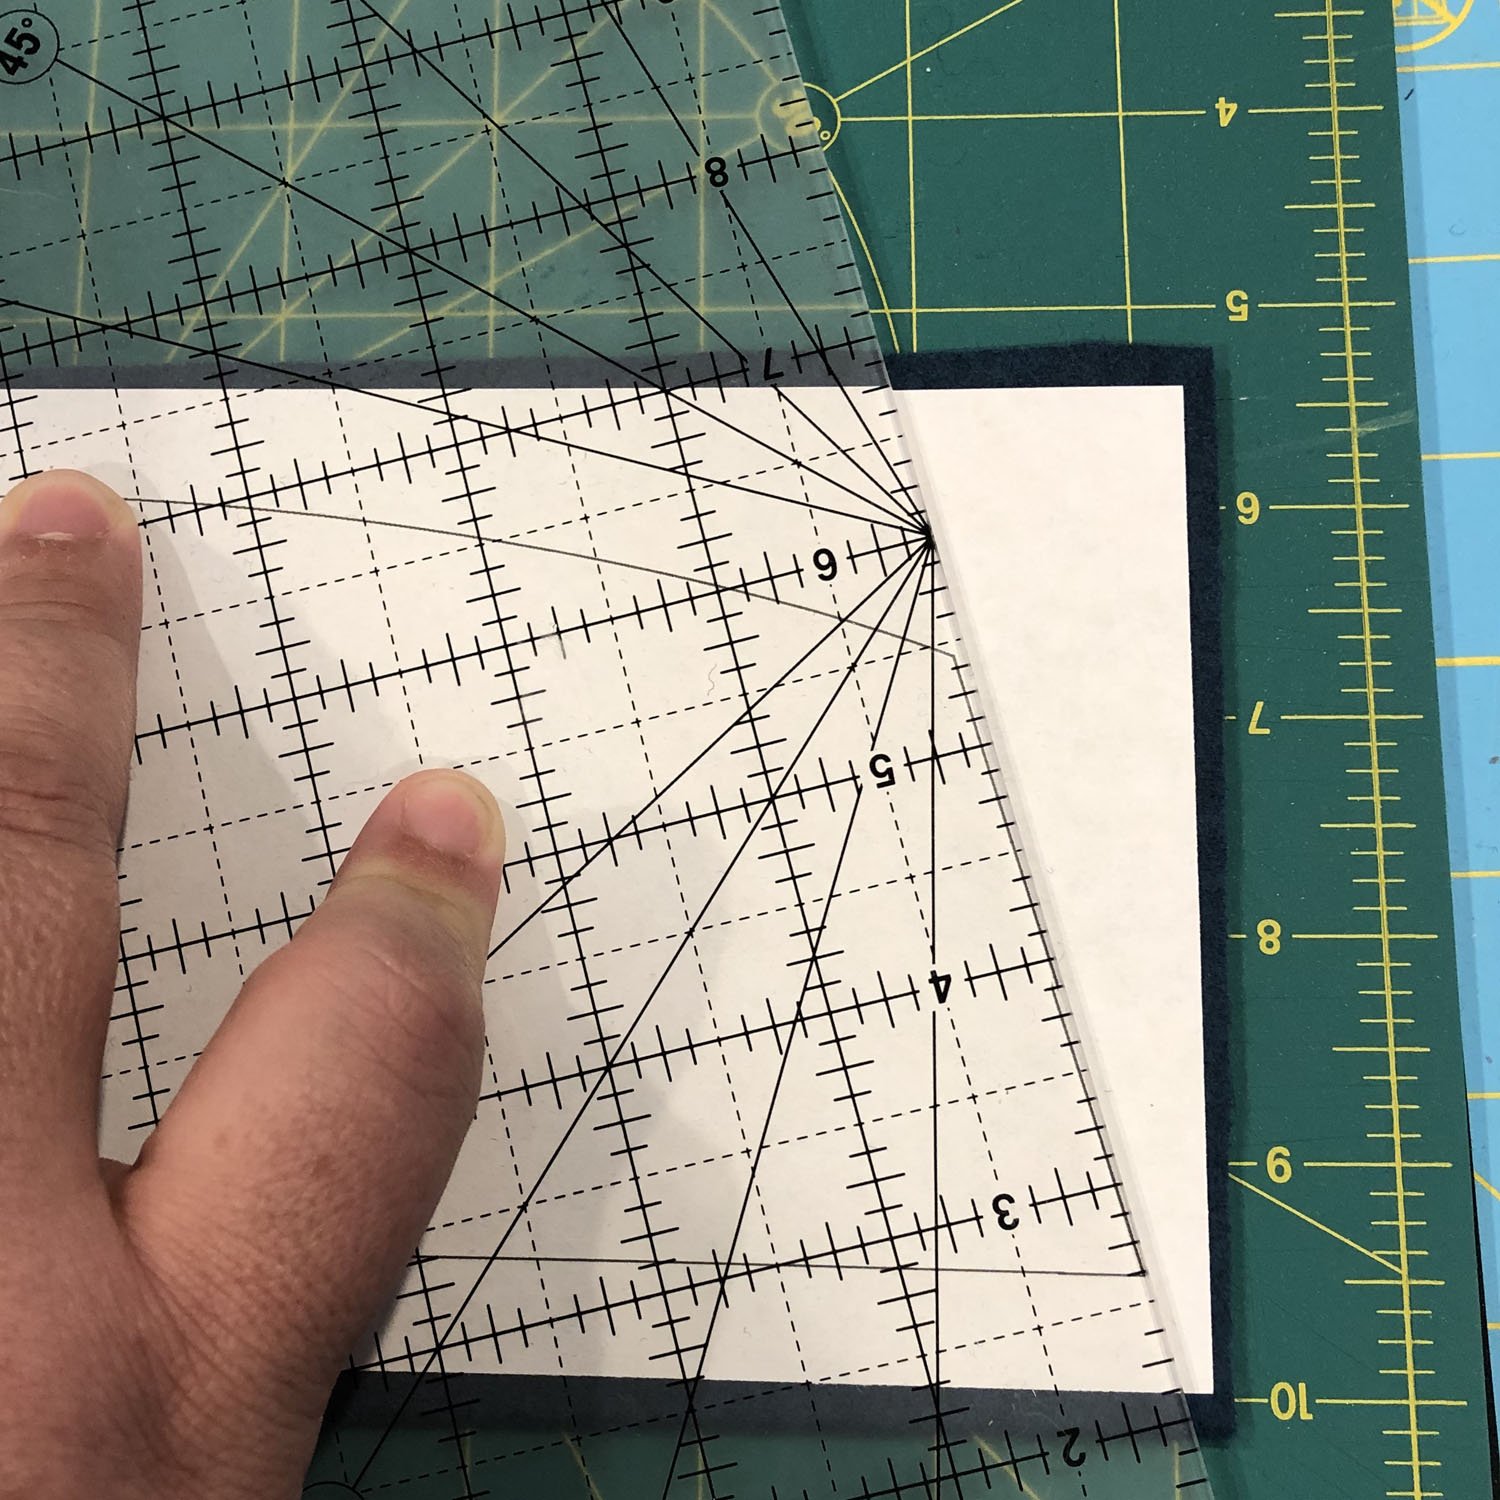
Use your rotating mat to make it easier to cut all three straight sides without moving your wool or pattern.
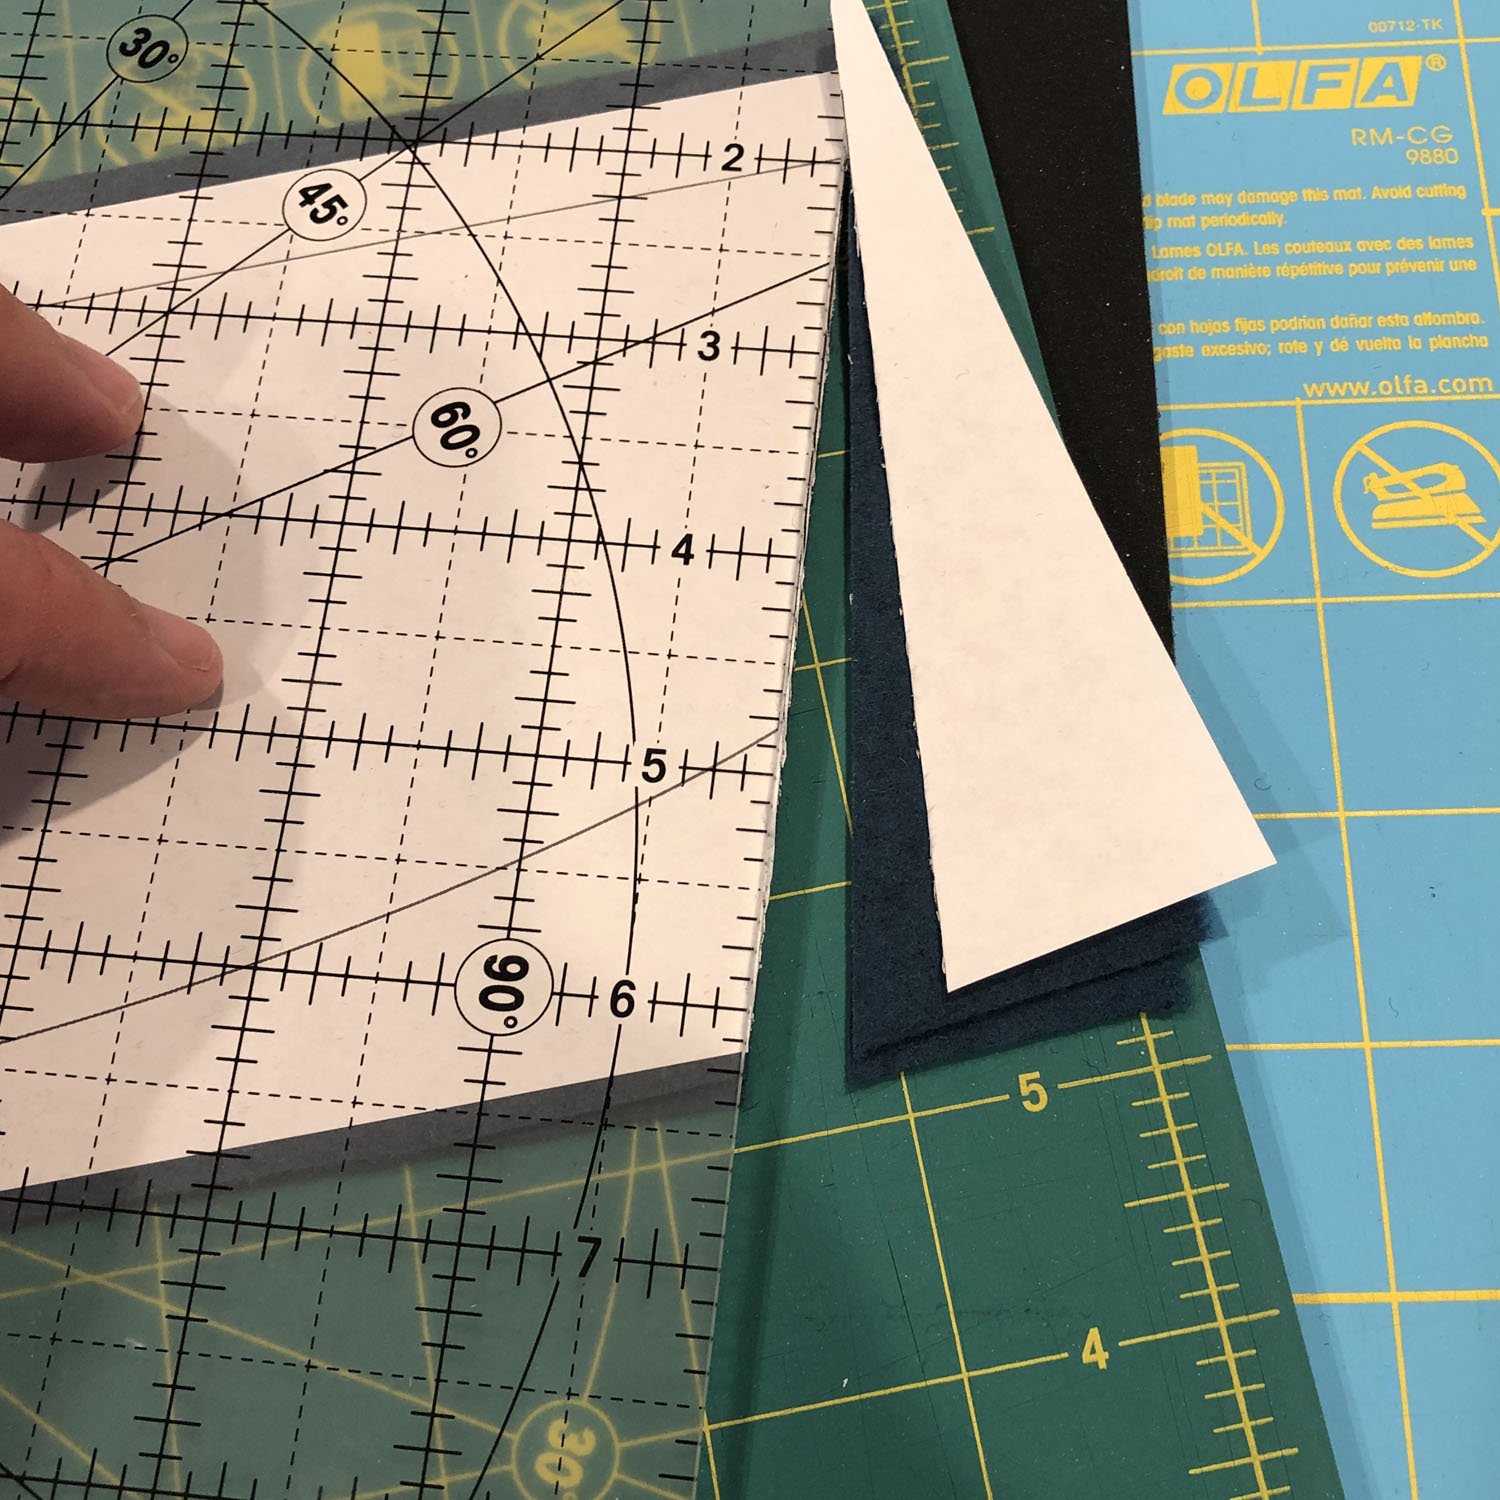
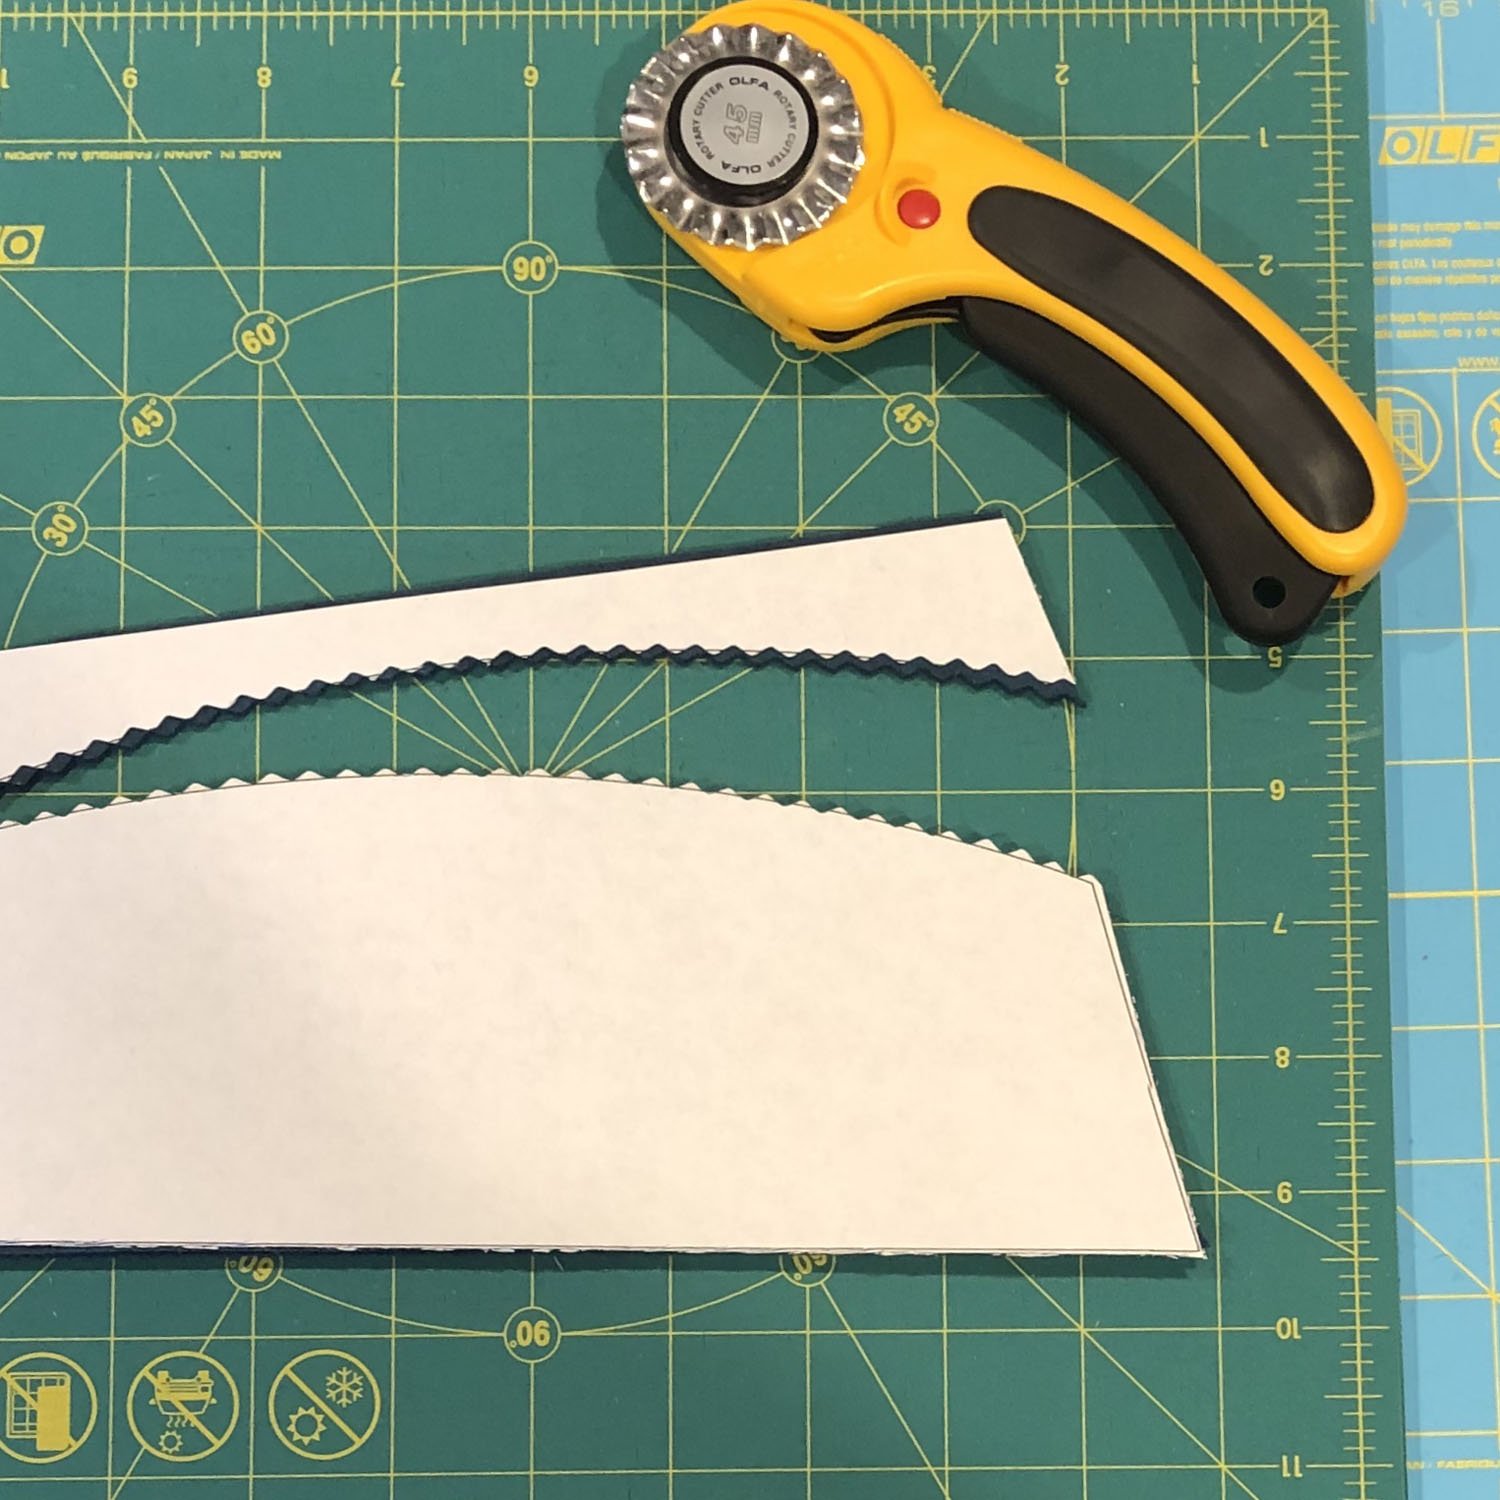
Step 3: Cut along the arch with a decorative blade.
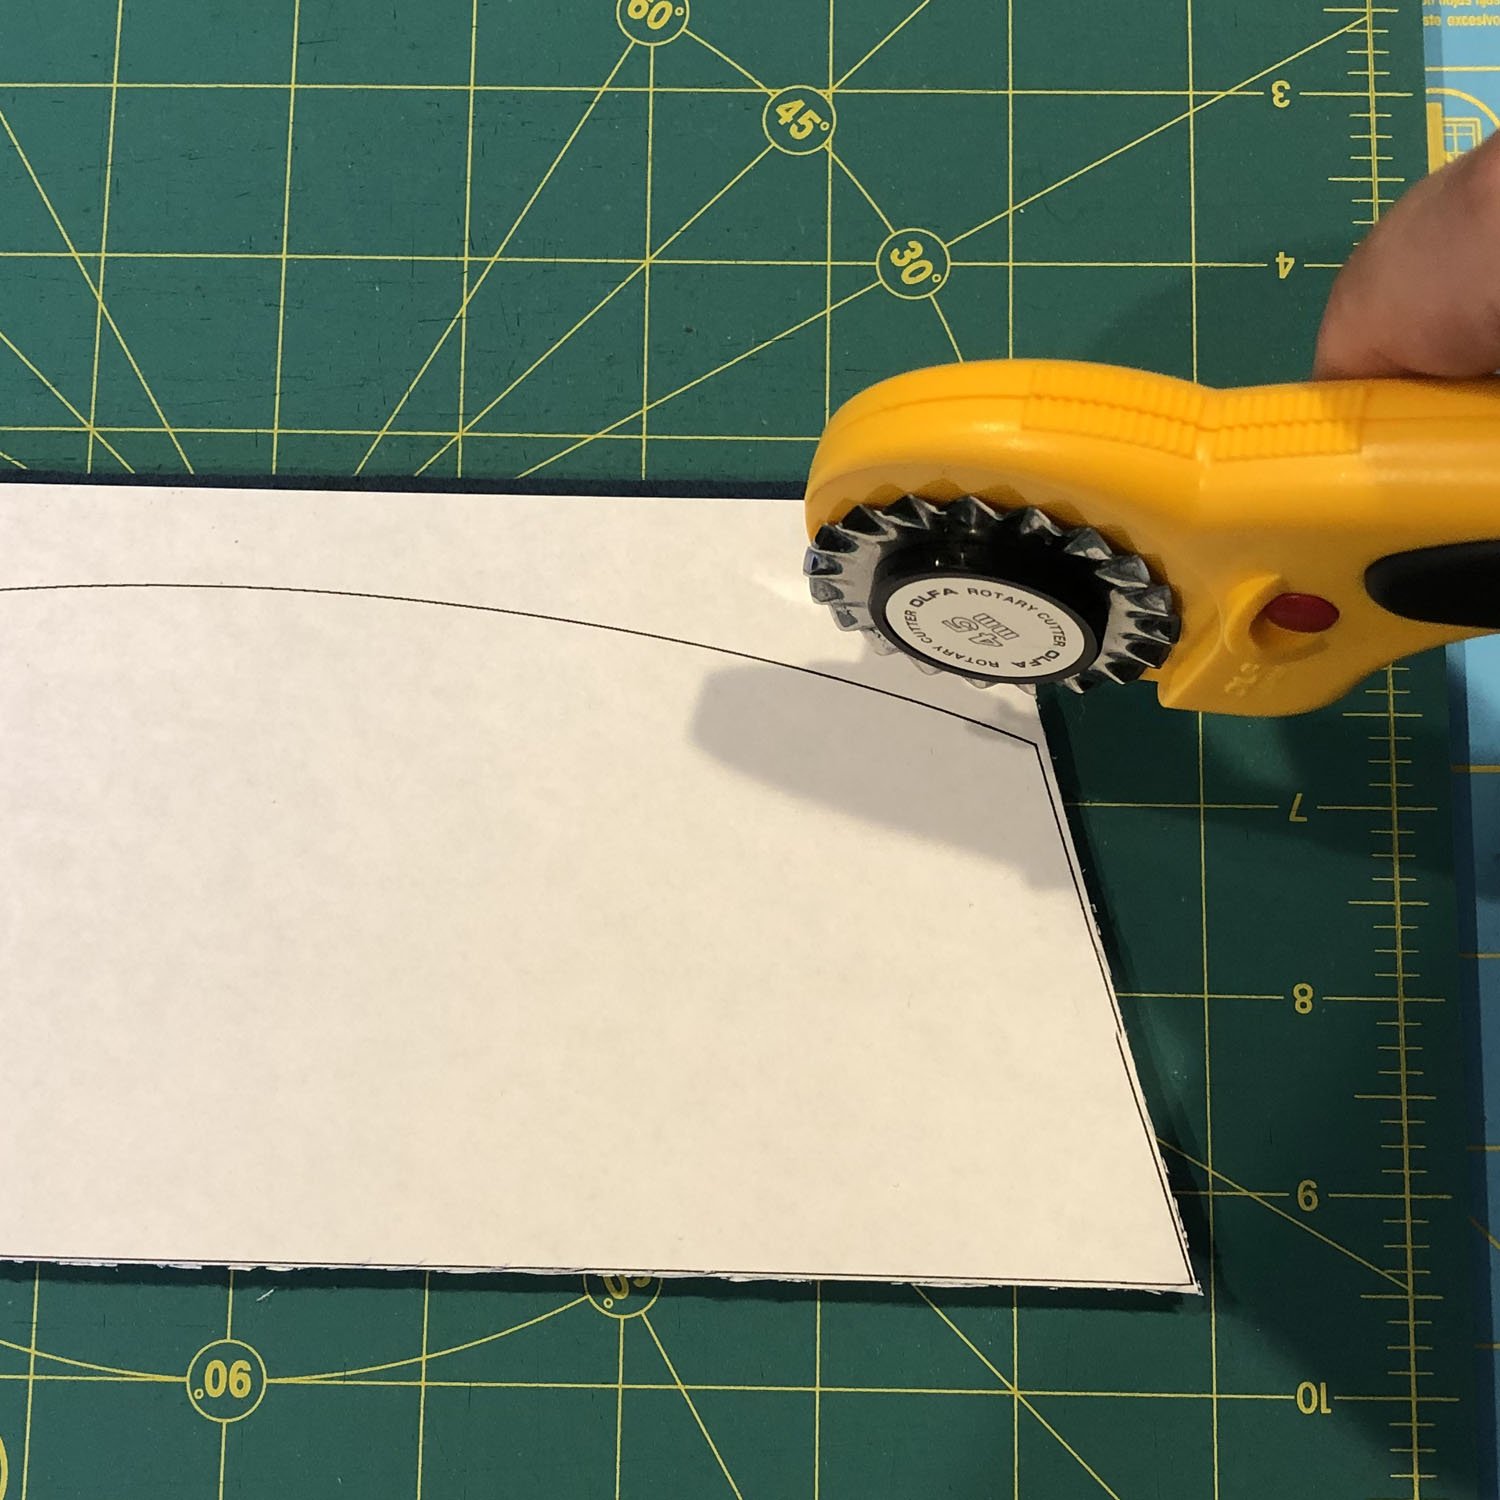
Cut slowly and carefully. It’s important that you cut in one smooth cut so as not to disturb the decorative design. If you veer, just veer back onto the line; bags are forgiving because they are 3D.
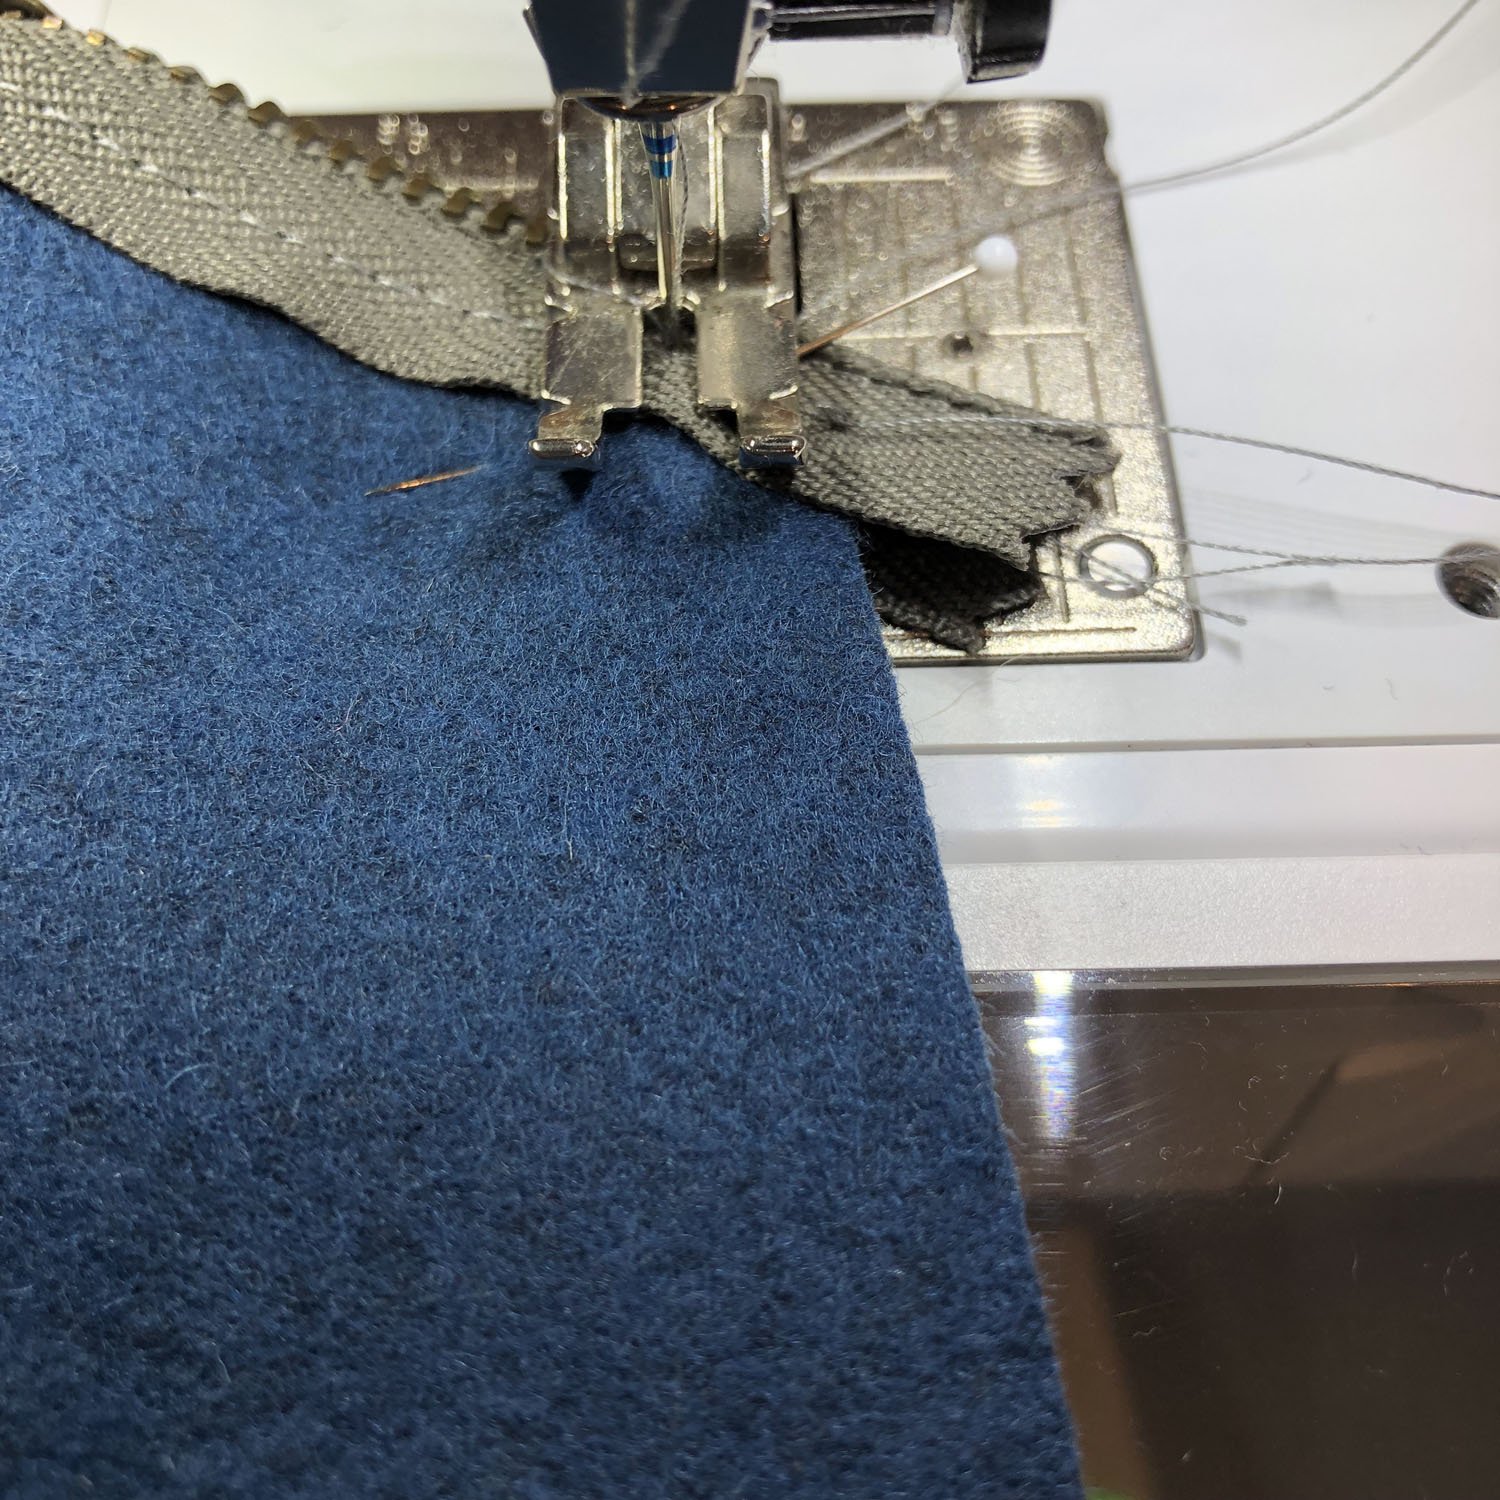
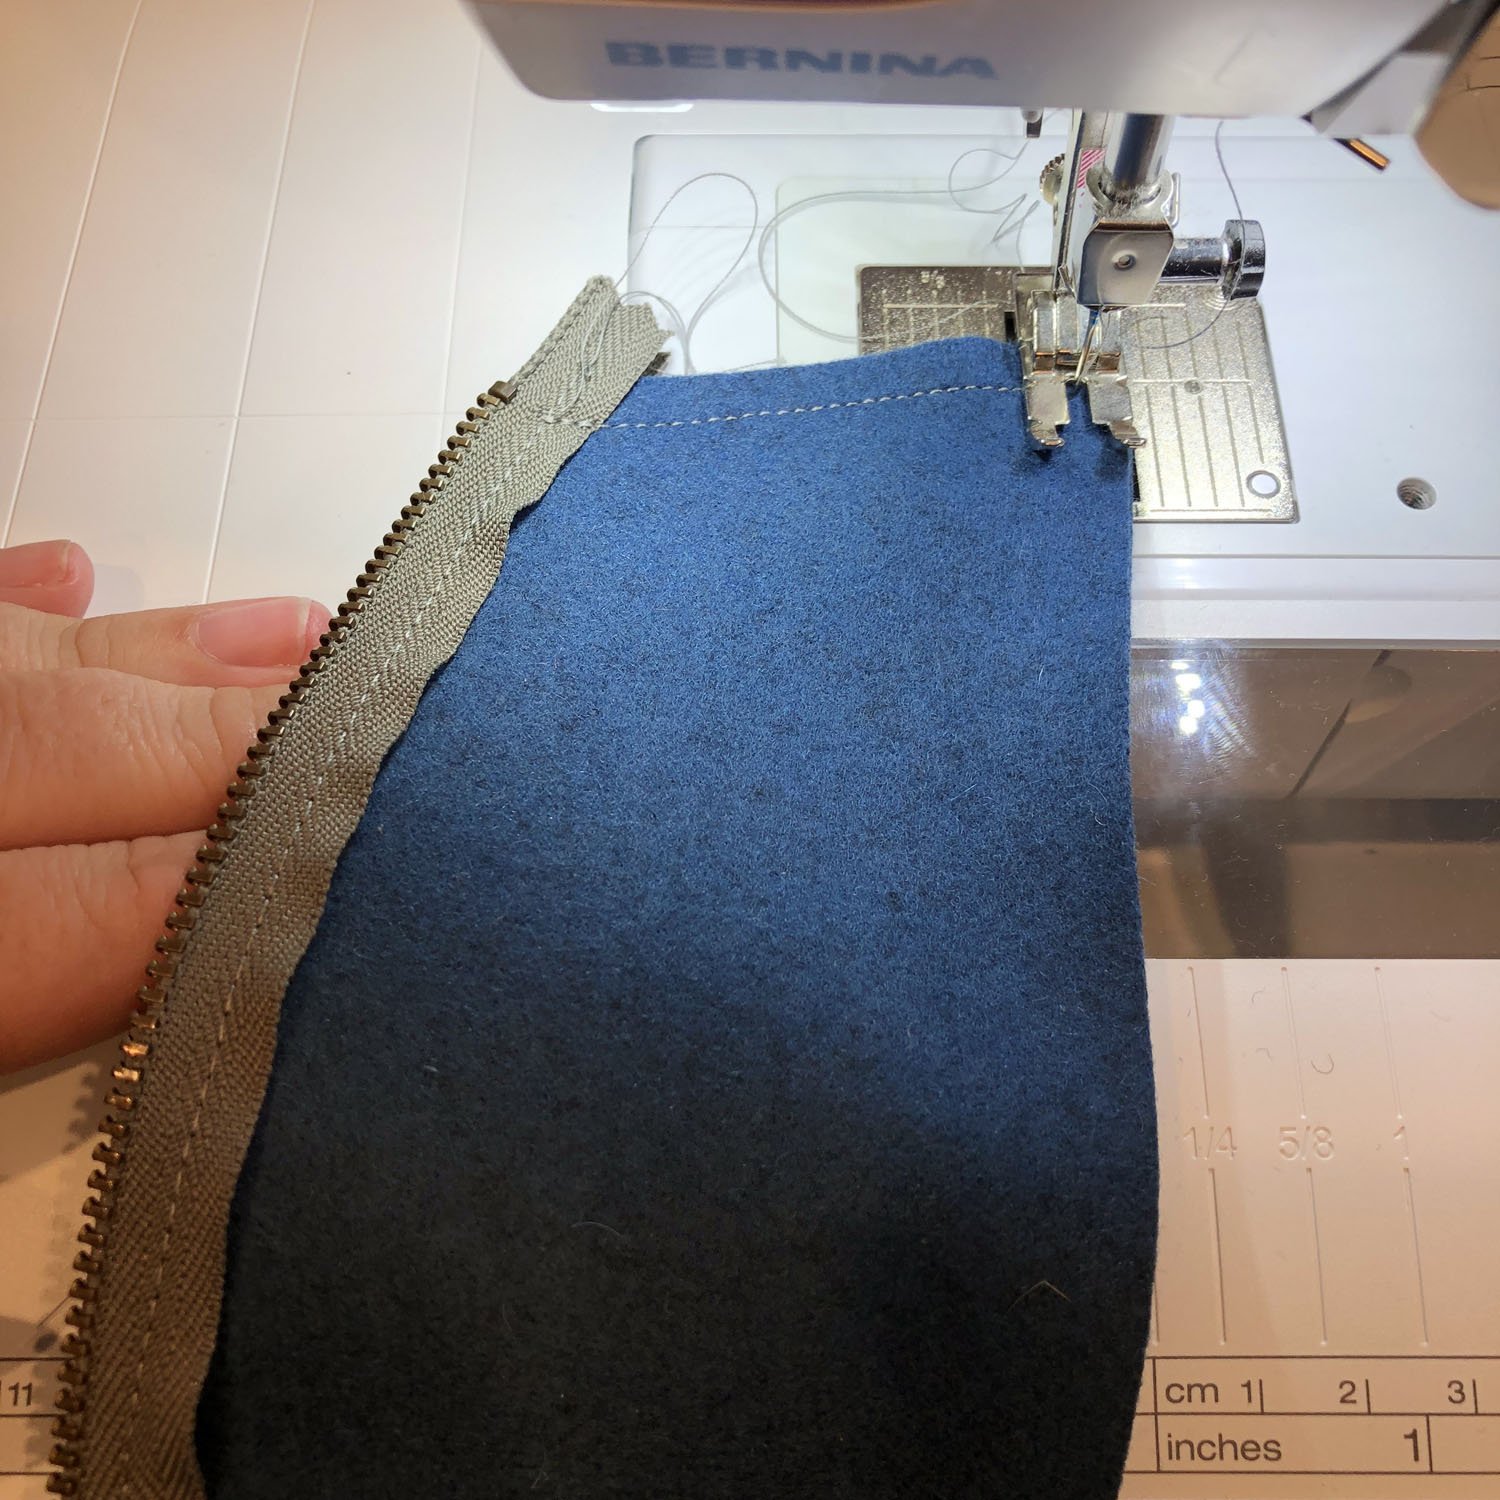
Step 4: Topstitch the arch of one side to the zipper.

Repeat with the other wool piece.

Step 5: Place the two wool pieces right sides together. The zipper webbing should be facing out. Stitch along the two short sides of the bag with a ¼” seam.
Stitch along the bottom edge as well.
Step 6: Measure a ½” square from the seams in the corner.
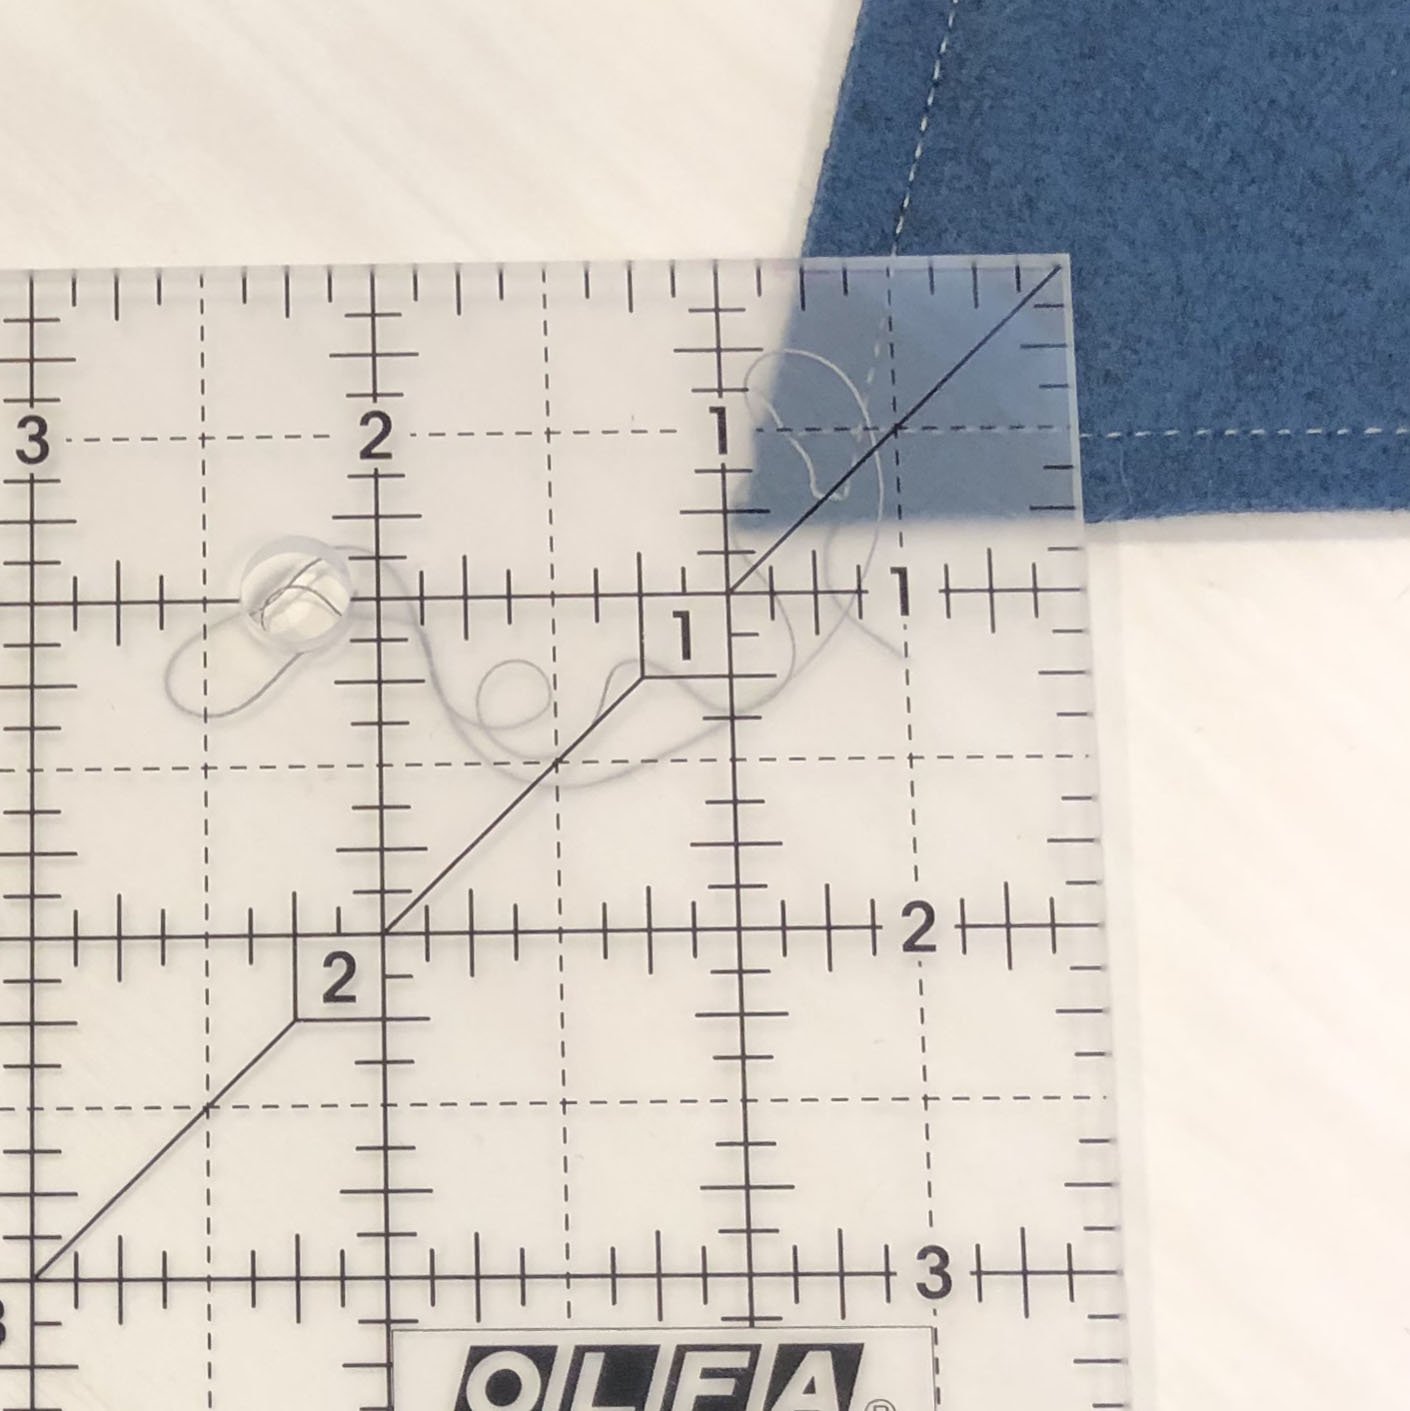
Mark and cut the corner. Repeat for the second corner.

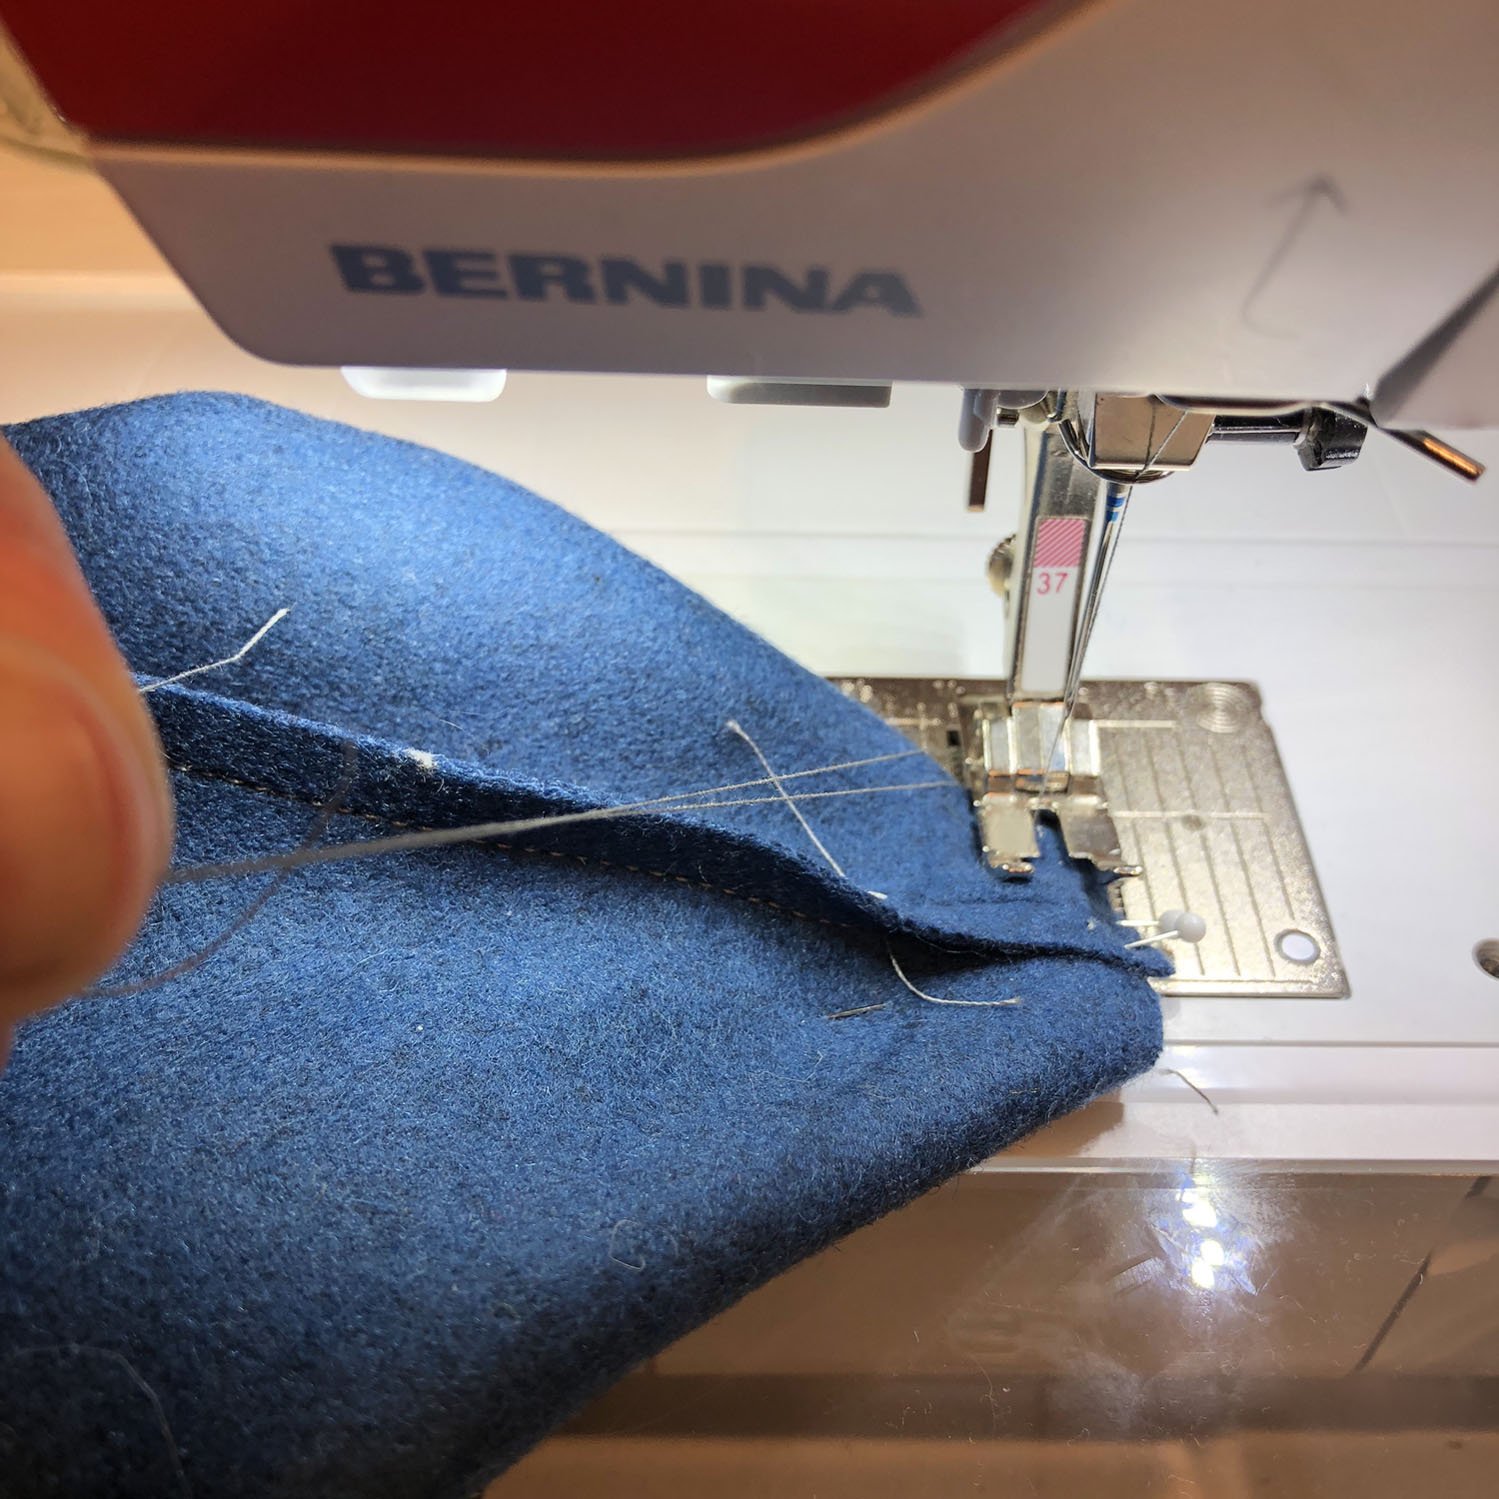
Align the two seams to square the corner. Stitch with a ¼” seam leaving a long tail. Knot the tails after stitching.
Step 7: Turn the bag right side out.

xx LC